
Creating Forms
In RockForms every form is presented of one PHP file and is itself its own PHP class. If you are new to OOP, don't worry! RockForms has a GUI that creates that file for you:
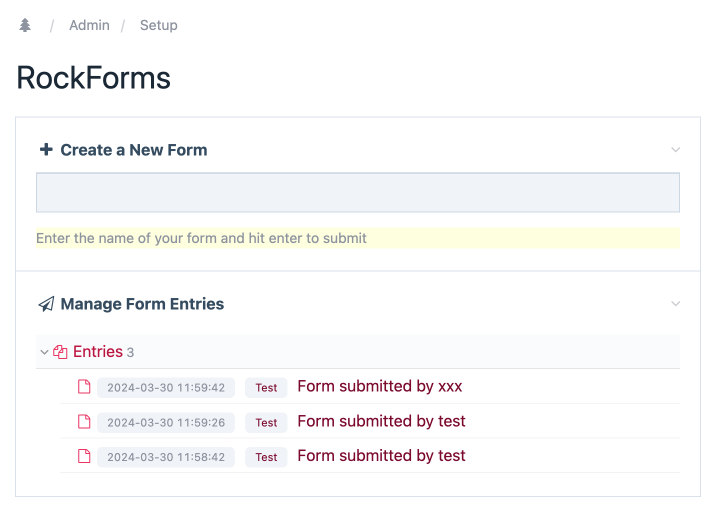
Theoretically you can create your form files in any folder you like (for example in custom modules), but the GUI will place it in the default folder, which is /site/templates/RockForms.
A basic RockForm looks like this:
<?php

namespace RockForms;

class Newsletter extends RockForm
{

  public function buildForm()
  {
    // field setup
  }

  public function processInput()
  {
    // form processing after submit
    // this will be executed on every submit
  }

  public function processSuccess()
  {
    // process a successful form submission
    // this will be executed only if:
    // - no errors
    // - not spam
  }

  public function renderSuccess($values)
  {
    // show success message to user on the frontend
  }
}
The boilerplate file that is created by RockForms when using the GUI comes with a lot of helpful comments as well!
Adding Fields
This form does not have any fields yet, so we add them in the buildForm() method:
<?php

namespace RockForms;

class Newsletter extends RockForm
{
  public function buildForm()
  {
    $this->addText('fieldname', 'Field Label');
    $this->addSubmit('ok');
  }
}
If you set up your IDE properly it will help you with creating your forms by listing all available methods:

Accessing Forms
Now that we have setup our form we can access it like this:
$form = $rockforms->getForm("Newsletter");When using a custom path you can get your form like this:
$form = $rockforms->getFormFromFile("/path/to/Newsletter.php");Rendering Forms
You can either request your form and then render it:
$form = $rockforms->getForm("Newsletter");
echo $form->render();
Or you use the shortcut:
echo $rockforms->render("Newsletter");Success Message
public function renderSuccess($values)
{
  // NOTE: All values will automatically be entity encoded here.
  // See docs about security to understand how and when that works!
  return "Thank you, {$values->name}! We will get back to you soon.";
}