
Block Fields
RockPageBuilder blocks are technically just ProcessWire Pages. That means every block has its own template and there you can manage all the fields that the block has.
You can manage those fields either via GUI, so the experience with using RockPageBuilder will be the same as always. Or you can use RockMigrations to create reusable blocks that you can simply copy from project to project and boost your productivity! 🚀😎
Using the GUI
All block templates will be prefixed with rockpagebuilderblock- to avoid naming collisions with your project's templates. Just click on the template and start adding fields to your blocks!
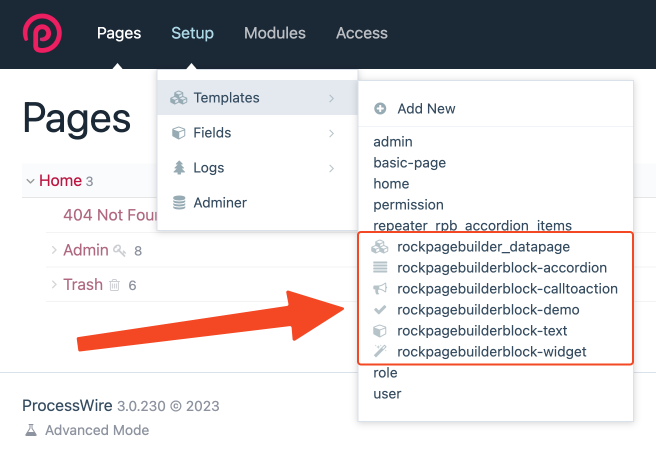
Alternatively you can click on the blocks icon of any block in the page editor:
Using RockMigrations
The real power of RockPageBuilder comes with its first class support of RockMigrations. If you are new to RockMigrations check out the quickstart video on Youtube: https://www.youtube.com/watch?v=eBOB8dZvRN4
But don't panik! You only need a very small subset of RockMigrations when working wich RockPageBuilder blocks!
Usually all you need is:
- Creating a new field
- Adding that field to the block template
That's really straightforward and RockMigrations has some helpers to make that process as smooth and easy as possible.
Basic Structure
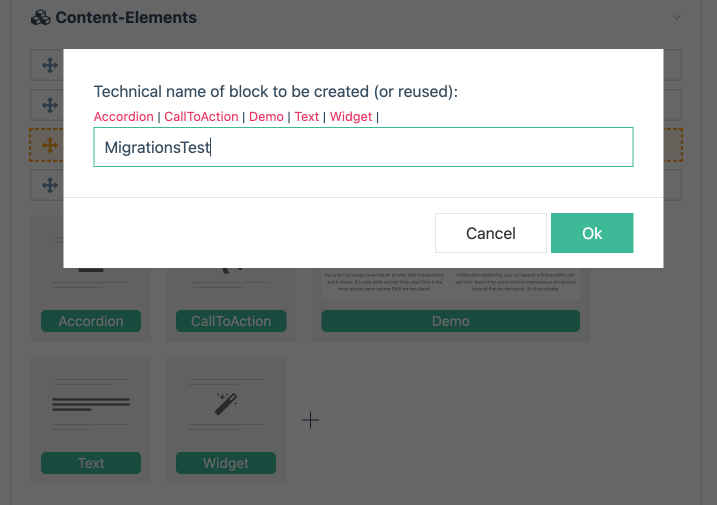
For this example we create a new block called MigrationsTest
This will create a file with the following code for you:
<?php

namespace RockPageBuilderBlock;

use RockPageBuilder\Block;

class MigrationsTest extends Block {

  const prefix = "rpb_migrationstest_";

  public function info() {
    return [
      'title' => 'MigrationsTest',
      'spaceV' => self::spaceM,
    ];
  }

  public function migrate()
  {
    ...
  }

  public function settingsTable(\ProcessWire\RockFieldsField $field)
  {
    ...
  }

}
The magic happens in the migrate() method and the file has many comments that help you get started as easy as possible.
Now let's create our first field!
Creating and adding fields
To create fields RockMigrations provides the createField() method. To create templates it provides the createTemplate method. Both can be combined in the short migrate() call, which is the version every block uses by default. In the migrate() you define fields that should be created or updated and you define templates that should be created or updated:
public function migrate()
{
  $rm = $this->rockmigrations();
  $rm->migrate([
    'fields' => [
      'foo' => [
        'type' => 'text',
        'label' => 'Foo Field',
      ],
      'bar' => [...],
    ],
    'templates' => [
      'demo' => [
        'fields' => [
          'title',
          'foo',
          'bar',
        ],
      ],
    ],
  ]);
}
In the example above we create two fields: foo and bar. Then we create the template demo and set the fields property to title, foo and bar. That means that the demo template will have those fields added.
It is very important to understand that no matter how often this code is executed it will always lead to the same result. That means you can easily change anything you want, then just reload the browser and voila your result will always be the one defined in your migrations.
For example lets change the label of the foo field:
// before
'foo' => [
  'type' => 'text',
  'label' => 'Foo Field',
],

// after
'foo' => [
  'type' => 'text',
  'label' => 'New Foo Field Label',
],
The same logic applies to changing properties of the template:
// before
'fields' => [
  'title',
  'foo',
  'bar',
],

// after
'fields' => [
  'bar',
  'title',
  'foo',
],
This will change the order of your fields on the next reload.
Note that RockMigrations does only do what you tell it to do. That means if you want to remove a field from that template you need to explicitly tell RockMigrations to do so rather than just deleting that line from the code.
Option 1
We delete the field and then remove it from the field and template migration:
public function migrate()
{
  $rm = $this->rockmigrations();
  $rm->deleteField('foo', true);
  $rm->migrate([
    'fields' => [
      'bar' => [...],
    ],
    'templates' => [
      'demo' => [
        'fields' => [
          'title',
          'bar',
        ],
      ],
    ],
  ]);
}
Option 2
If you don't want to delete the field but only remove it from that template you can do this:
public function migrate()
{
  $rm = $this->rockmigrations();
  $rm->migrate([
    ...
    'templates' => [
      'demo' => [
        // the fields MINUS property tells RockMigrations to remove
        // all fields from the template that are not listed in the array
        'fields-' => [
          'title',
          'bar',
        ],
      ],
    ],
  ]);
}
Where to get the code?
If you wonder where to get the code for your field migrations you have two options:
Option 1
Use VSCode snippets! RockMigrations has an option on its settings page to add VSCode Snippets to your project and once that option is enabled you'll get boilerplate code for most of the fields:
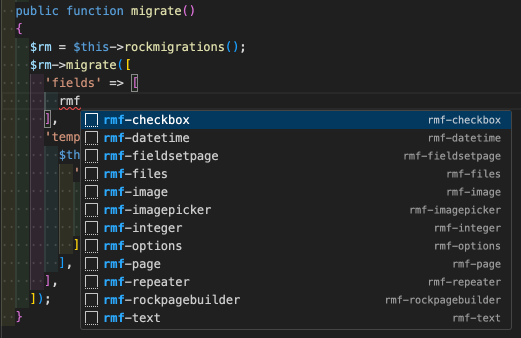
Once you type rmf- you'll get a list of all the available snippets and then you can choose the image snippet for example and adjust all settings to your needs:
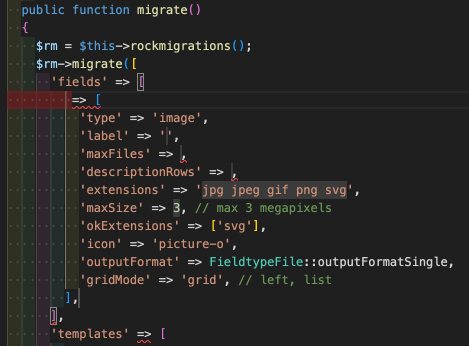
Simply add the desired name of your field and you'll be even faster than when using the GUI!
Option 2
Another option is to create your field via the GUI first and then grab the code from the field code info:
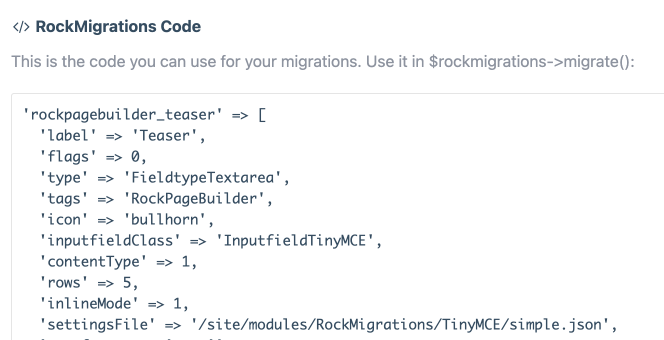
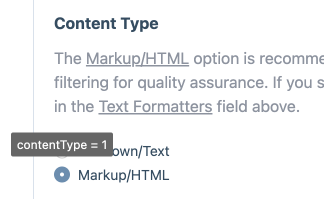
Or you go to single settings explicitly and hover those inputfields to get info about the property and the value to be used in your migration:
Template Contexts
Did you notice that in the example above we created two fields foo and bar but we added three fields (title, foo and bar) to the block template?
That's because the title field is a global field that is always available and therefore it's a great field to be used for block headlines for example (because almost any block needs one and it would be tedious to create a field all the time).
But maybe we want to have different labels for that field in different blocks? That can easy be done via template context settings:
public function migrate()
{
  $rm = $this->rockmigrations();
  $rm->migrate([
    'fields' => [...],
    'templates' => [
      'demo' => [
        'fields' => [
          // just define the properties of the field
          // in the context of the template
          'title' => [
            'label' => 'Headline of Demo block',
            'icon' => 'bullhorn',
          ],
          ...
        ],
      ],
    ],
  ]);
}
That's it! Now you know how to create reusable blocks that you can reuse from project to project and save a lot of time!