
Quickstart
One huge selling point of RockPageBuilder is that it injects a GUI into your frontend to make the content editing extremely easy and intuitive for your clients.
Show that you potential clients and they will be blown away how easy your sites can be edited! 🤩🤯🚀
Frontend GUI
As soon as you are logged in and hover over a block you will get the UI for all available block actions:
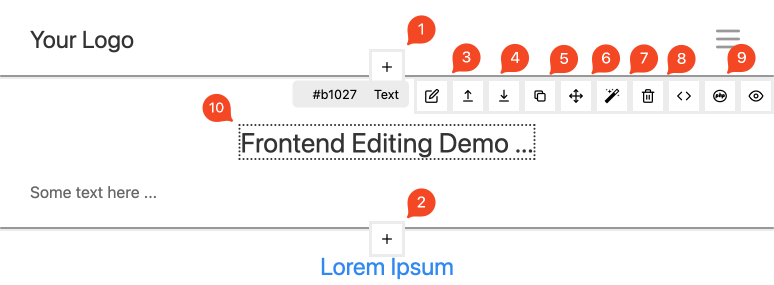
- Add a new block above
- Add a new block below
- Edit this block
- Clone block
- Move block
- Turn block into a widget (to reuse it across several pages)
- Delete block
- Development shortcuts to open markup/logic/style-file that belongs to that block in VSCode (I love that feature 😎)
- Doubleclick text elements for instant frontend editing
Note: For editing the block you can also doubleclick anywhere inside the block.
Backend GUI
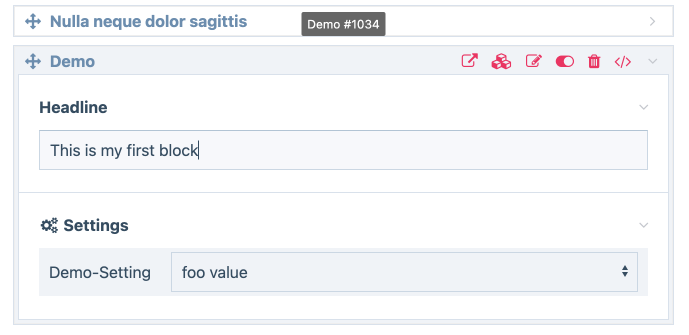
The backend interface is straightforward too. It is necessary for some features that can't be shown on the frontend - for example you can hide blocks to temporarily disable them on the frontend and since they are hidden on the frontend we can't show a UI there 🤪
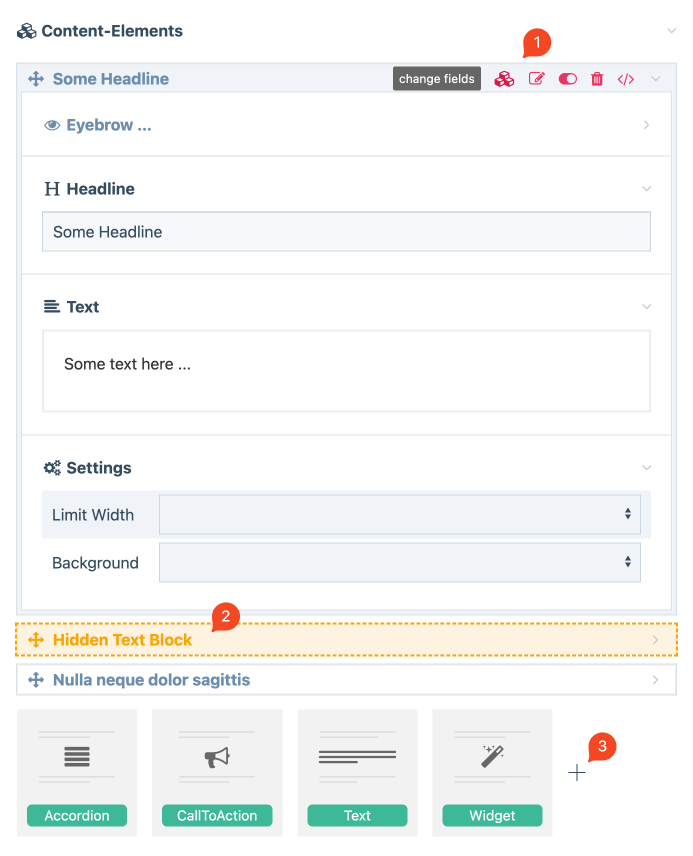
On the screenshot you see three features:
- Action icons where you can - for example - change the fields of your block or hide/unhide or delete it.
- An example of a hidden block.
- A plus icon where you can create new block types.
Creating your first block
Creating a new block is very easy:
Click on the plus icon in the backend (see screenshot above)
Choose a name for your block and hit OK. We use
Demofor this example: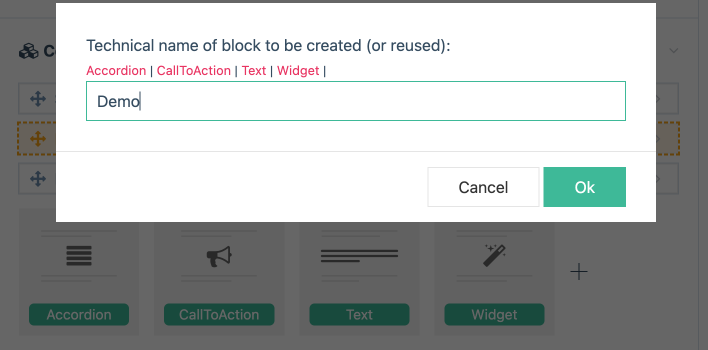
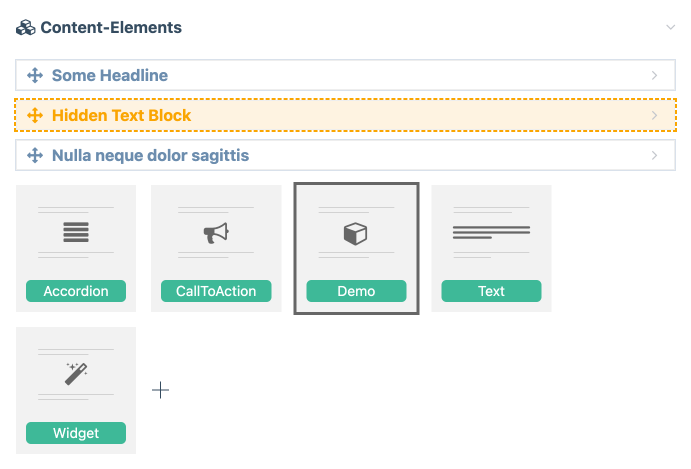
Your block is ready to be used
Add one block, fill in some content and save the page
View your page on the frontend. Your block will already be usable and show you which file you have to modify in order to change the markup:
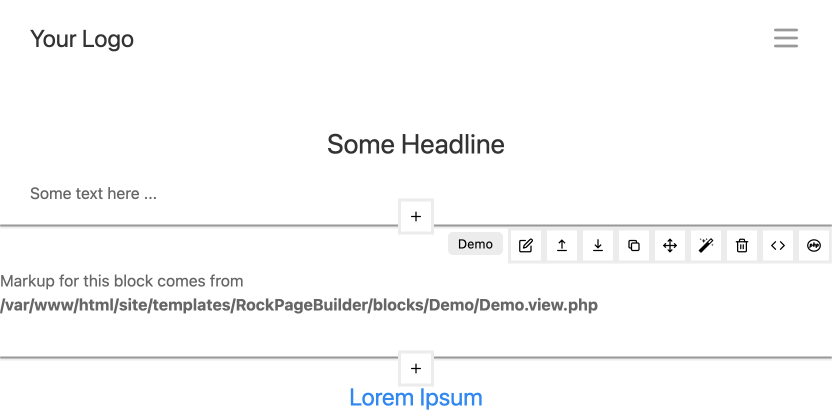
Open that file in your code editor and add whatever markup you need.
You can use this example code (without the comments, of course):
// in every block you have access to the $block variable
// it's a $page with superpowers 😉 more on that later...

<section
  // optional class to style all demo blocks
  // you can also use it to target child elements:
  // .rpb-demo h1 { color: red; }
  class="rpb-demo"

  // add ALFRED - that's the gui for frontend editing
  <?= alfred($block) ?>
>
  // show the title field of the block as h1 headline
  // note that we are using title(), not title! this is
  // all it takes to make the field frontend editable 💪
  <h1><?= $block->title() ?></h1>
</section>
Here the same code without comments ready to copy:
<section
  class="rpb-demo"
  <?= alfred($block) ?>
>
  <h1><?= $block->title() ?></h1>
</section>